
Glass clamps can serve different positions in a shower enclosure, so this guide focuses on installation checks for the clamp body, fixing surface, and panel alignment. It complements a dimensions-first clamp RFQ.
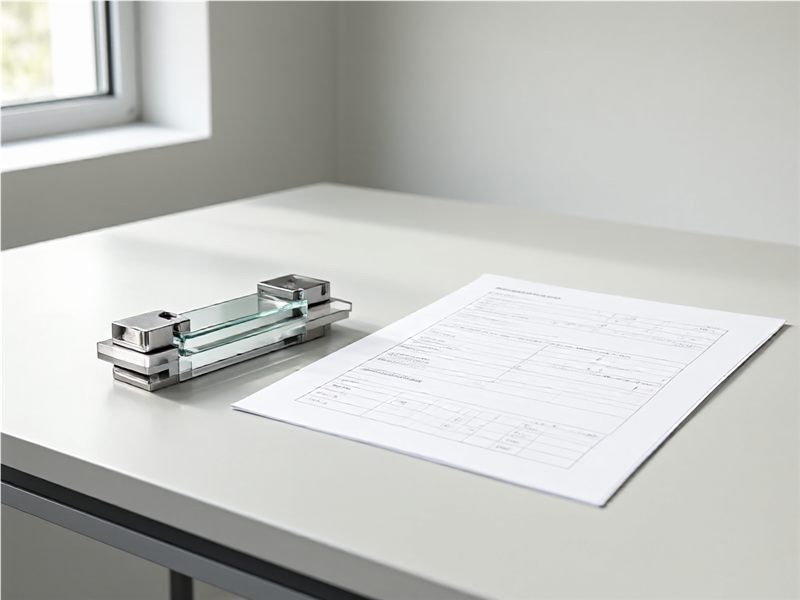
Classify the clamp position
Mark whether each clamp connects glass to a wall, floor, ceiling, or another panel, and show its orientation on the enclosure drawing. Identify the panel and the surface receiving the fixing. This separates clamps that only look similar but serve different positions or directions. Keep the model number beside each location in the bill of materials.
Verify the support surface and fastener route
Describe the finished substrate and the structural surface behind it where known. Confirm the anchor and fastener assumptions with the project installer and supplier, and record any site condition that has not been opened or inspected. The visible clamp body does not establish that the wall or floor is suitable for its planned connection.
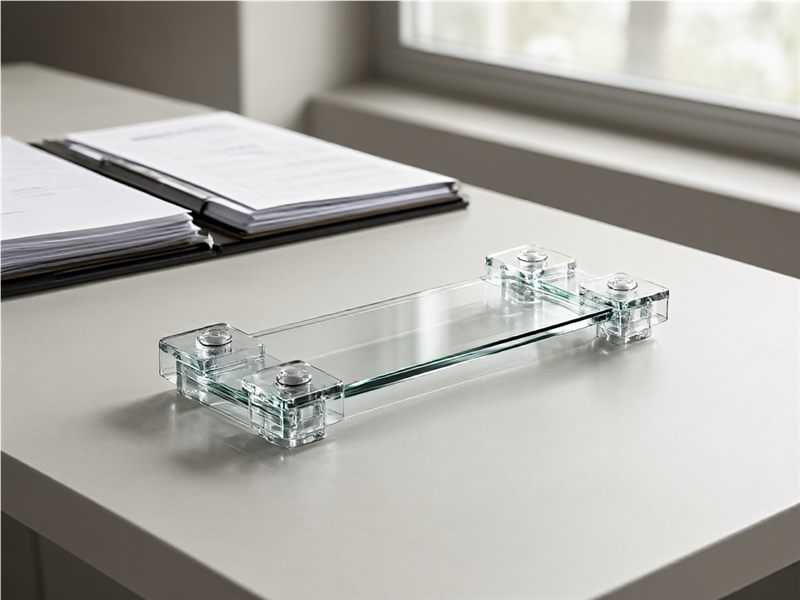
Check alignment and glass contact
Review panel plumb, clamp spacing, edge clearance, interface pads, and the final glass-to-glass or glass-to-wall gap. Confirm the exact model and insert against the panel thickness and preparation. On a sample, check cover placement and access to fasteners. Do not tighten or alter the clamp beyond the supplier's installation instructions.
Document inspection and future service
Record clamp location, model, finish, fixing details, and installation revision. At handover, inspect visible alignment and note any adjustment that could affect adjacent seals or door movement. Keep a labeled replacement reference so maintenance staff can identify the original clamp without removing the glass assembly just to discover the part number. Add close-up photographs of the installed clamp and its position on the approved drawing. If the site team substitutes an insert, fastener, or finish, record the change and obtain the responsible review before closing the inspection.
Clamp installation questions
Is a clamp's visible size enough to identify it?
No. Position, orientation, insert, glass interface, and fixing route may differ between similar housings.
Who confirms the substrate?
The project installer or responsible site professional should confirm the actual fixing surface and anchor route.
Related resources: Zimmor glass hardware and fitting information; ANSI Z97.1-2026: Safety glazing materials used in buildings.
