
Mirror mounting hardware should be selected as part of one assembly: the mirror, supporting surface, fixing route and service access. For a buyer, the first useful question is how the mirror load reaches the wall or support, not which finish looks best in a catalog image.
Begin with the mirror and wall
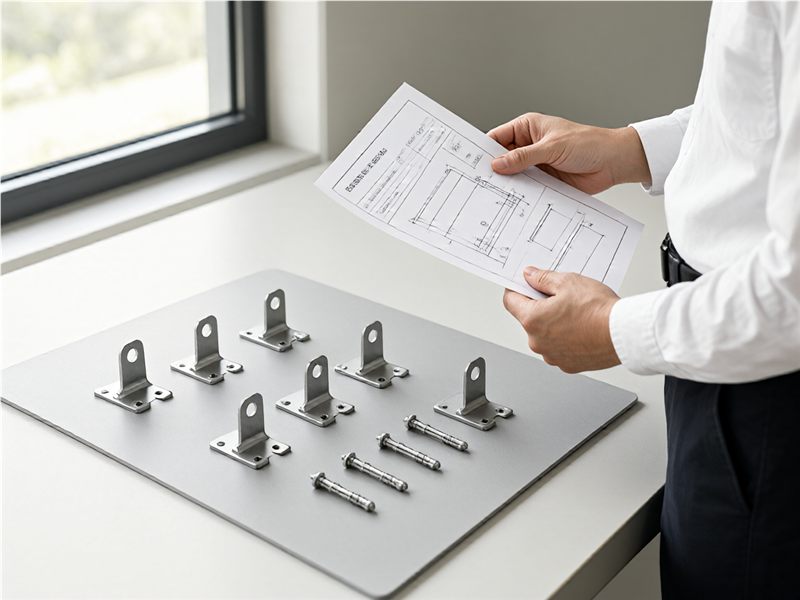
Record the mirror dimensions, overall weight supplied by the glass fabricator, orientation, backing and installation location. Identify whether the fitting attaches to a wall, a frame or the mirror itself. The answer changes the fixing detail and the access needed during installation. Do not estimate the finished load from glass thickness alone; use the project drawing and declared component data.
Select the attachment route
Ask how each part transfers force into the building substrate. Drywall, masonry, tile over board and a structural backing are not interchangeable fixing surfaces. Keep the anchor, screw and support detail in the approved drawing, and have the project installer confirm that the substrate can accept it. If an adhesive method is proposed, request its application limits and surface-preparation instructions for the exact mirror assembly.
Specify adjustment and finish
State the alignment range or adjustment feature needed to compensate for the actual wall and mirror layout. Check whether the fitting leaves enough space for cleaning and for later removal. Choose a finish from a physical sample under the project lighting; a screen image cannot confirm color, gloss or how the finish looks beside taps and other accessories.
Approve the complete assembly
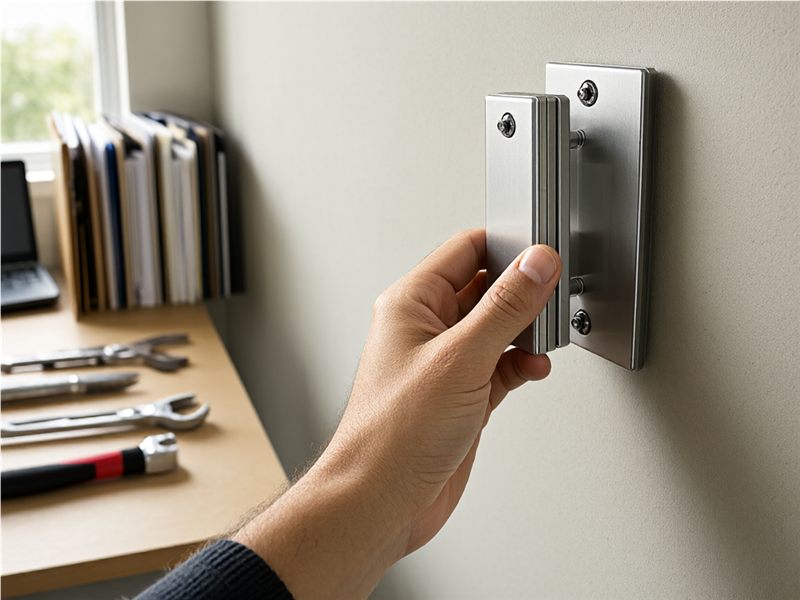
Review a sample with the intended mirror, fixing surface and fasteners where practical. Check the installation sequence, final gap, visible cover pieces and whether the mirror can be removed without damaging adjacent finishes. Keep the sample identity and drawing revision together so a visually similar substitute does not become the production reference.
Information to include in a mirror-hardware RFQ
Send the mirror drawing, dimensions and supplier-declared weight; wall build-up and fixing surface; mounting location; desired adjustment; finish reference; quantity; packaging needs; and the installation method. Ask the hardware supplier to identify any unconfirmed assumptions before quoting. A load statement should apply to the named model and complete fixing arrangement.
Mirror mounting questions
Can a catalog load figure be used for every wall?
No. Confirm the tested or declared configuration, substrate, anchors and installation conditions for the specific project. A component figure alone does not establish the capacity of the installed assembly.
What should be checked on a sample?
Confirm the model, fixing route, adjustment, finish, visible coverage and installation sequence against the approved drawing.
Browse mirror accessory options, Zimmor product and fitting information. For a project-specific quotation, provide the current drawing and request model-level fitment details before approval.
