

Quick answer: A shower door handle specification should define the glass panel, mounting positions, handle dimensions, grip direction, door clearance, finish and fastener arrangement. Buyers should match a drawing and sample to the actual panel and nearby hardware, then review access through the opening path. Keep the approved finish and installation reference with the item number for future projects and reorders.
1. Identify the panel and door arrangement
Record the panel dimensions, glass thickness, opening direction and whether the handle is mounted on a hinged or sliding door. Show nearby walls, fixed panels, seals and hardware that can limit hand access. Mark the inside and outside view so the supplier understands the intended orientation. A handle should be selected for the actual panel layout, not simply by appearance. If the same project has different door sizes, list the handle configuration for each opening to avoid assuming one arrangement fits every location.
2. Specify mounting points and glass preparation
Show the handle centerline, hole or fixing positions and measurement reference on a controlled drawing. Confirm that the glass fabricator has the correct hardware information before processing a panel. Identify any gasket, sleeve or spacer included in the approved assembly. Do not ask the fabricator to infer a hole position from a photograph. When the handle design changes, update the drawing and check the glass preparation against the current sample. This ensures the panel and hardware arrive as a compatible set.

3. Review grip, reach and opening clearance
Check how a user approaches and grips the handle from both sides of the door. Review knuckle clearance to the glass, wall, adjacent handle or enclosure edge. Move the door through its full swing or slide path and observe whether the handle contacts another surface. If a project has limited space, make a simple mock-up using the actual dimensions. Record the opening direction and handle projection. A grip that feels comfortable on a loose sample may be awkward after installation near a wall or seal.
4. Match the finish to the surrounding hardware
State the approved finish reference and compare a sample under consistent lighting beside the hinges, clamps or other visible components. Record color, sheen and texture expectations where they matter to the project. Ask whether the sample represents the production finish and supplier source. Avoid assuming that similarly named finishes from separate lots will match exactly. Keep the approved sample and reference photo accessible to receiving. This helps the buyer review a production set as a group instead of approving each piece in isolation.
5. Confirm fasteners, gaskets and installation access
Ask the supplier to identify the fastener arrangement, gasket order and tool access required for assembly. Review whether the installer can tighten or adjust the handle with the door and nearby hardware in place. Do not invent torque or installation instructions when the supplier has not provided them. Check whether protective materials need removal before assembly and whether any surface must be cleaned first. A representative installation can reveal a blocked tool path or a part that is easy to misorient.
6. Approve the handle as a complete assembly
Review the handle with the specified glass panel, gaskets, fasteners and adjacent hardware. Check attachment, alignment, movement, grip, finish and visible fastener condition. Record the sample ID, drawing revision, finish reference and reviewer. If the sample is adjusted, describe the final setting and whether the drawing should change. A complete assembly gives the installer and buyer a more useful reference than a loose handle in a bag. It also helps explain what the supplier is expected to reproduce.
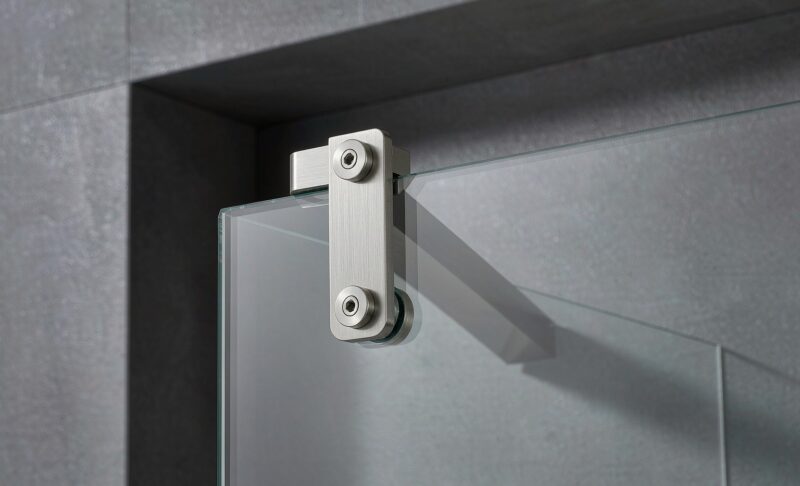
7. Plan packaging and receiving identification
Specify the item code, finish, quantity, label position and packaging method. Protect the visible finish and separate pieces so they do not rub together in transit. Ensure the label remains readable when the handle is packed with other enclosure hardware. Ask for a packed sample and compare the contents to the purchase order. Clear identification helps receiving keep finishes and mounting variants separate and lets the installer pick the correct handle for a particular opening.
8. Keep revisions tied to panel and finish changes
Store the approved handle drawing, glass preparation, finish sample, installation note and part number together. If the panel dimensions, hole position or finish changes, review the affected checks before reordering. Ask the supplier to notify the buyer if a fastener, material or production source changes. Keep the person who approves substitutions visible in the project record. This controlled path helps future installations match the handle and panel configuration that were originally approved.
For buyers comparing available product and supplier options, see Zimmor shower door hardware.
Questions buyers often ask
What should a shower door handle specification include?
Include panel details, mounting positions, handle dimensions, grip direction, clearance, finish and fastener arrangement.
Should a handle be reviewed on a loose sample?
Review a loose sample for appearance, then test fit and movement on the actual or equivalent panel with adjacent hardware.
How can finish consistency be checked?
Compare the approved sample and production pieces under consistent lighting and keep a labeled reference.
What should be saved for a replacement handle?
Keep the part identifier, finish, panel preparation, drawing revision and installation record together.