
Quick answer: Choose shower door rollers by matching the glass attachment, track geometry, panel travel, adjustment method and replacement access to the actual enclosure. A roller that fits a photo may still be unsuitable if the glass preparation, rail profile or end-stop arrangement differs. Measure the installed system, record the current hardware and test a representative sample before finalizing a replacement or a new project specification.
1. Identify the installed system before choosing a roller
Begin with the enclosure and the job the roller must perform. Record whether the door is top hung, how the rail is supported, where the panel travels and what keeps the bottom edge aligned. Photograph the existing hardware from several angles and note any model or revision information that can be verified. A generic roller name is not a complete specification because different systems use different attachment details, clearances and adjustment methods. If the project is a replacement, identify the existing track and glass preparation before ordering. If it is a new design, make the roller part of the complete sliding assembly instead of treating it as a loose interchangeable component.
2. Match glass thickness, holes and clamping method
Confirm the glass thickness and the attachment arrangement using the project drawings or a measurement from the actual panel. Identify whether the roller clamps the glass, uses a prepared hole or relies on another fitting. Check the available adjustment and the parts that contact the glass. Do not drill, alter or reuse glass based only on a supplier’s general product name. Ask the fabricator and hardware supplier to agree on the required preparation and the approved installation sequence. Keep the selected roller, glass specification and drawing revision together. This prevents a mismatch from appearing only after fabrication, when replacement can affect both cost and schedule.
3. Measure rail geometry and panel travel
A roller must work with the rail profile, running surface, end stops and required panel movement. Record the rail shape and dimensions from the project drawing or a verified sample. Confirm the available opening, panel overlap and the path the door follows. Note any nearby wall, handle, seal or fixed-panel condition that limits travel. Check whether the design needs a single panel, paired panels or another arrangement. The supplier should confirm the compatible rail and the intended adjustment method in writing. A simple dimensional sketch with reference points is often more useful than an isolated product photograph because it shows where the roller sits in the complete assembly.
4. Review adjustment, bottom guidance and water path
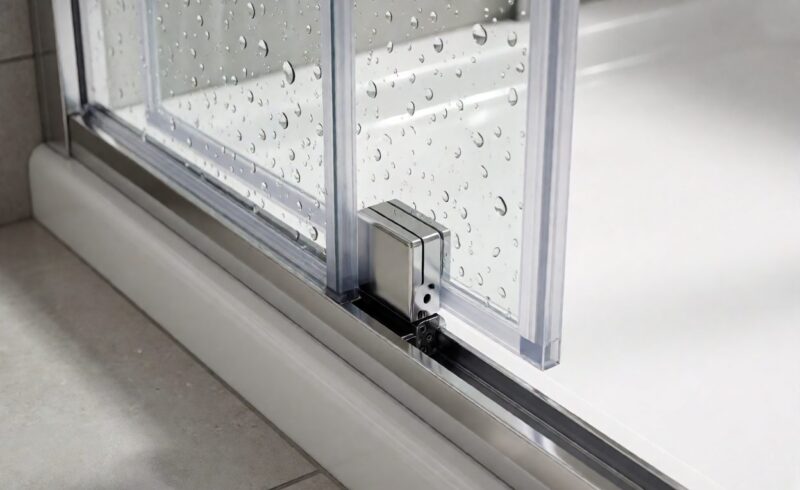
The top roller does not work alone. Review how the lower guide controls the panel, how adjustment is accessed after installation and how the seals meet the moving door. Confirm what prevents the panel from lifting or shifting during normal use, and how the end stop limits travel. The chosen arrangement should preserve the intended water path and avoid interference with the frame or adjacent fittings. Ask for the installation sequence and identify any adjustment that must be completed before a cover or trim is fitted. This helps the installer service the assembly without damaging finished surfaces or removing more hardware than necessary.
5. Check materials, finish and contact surfaces
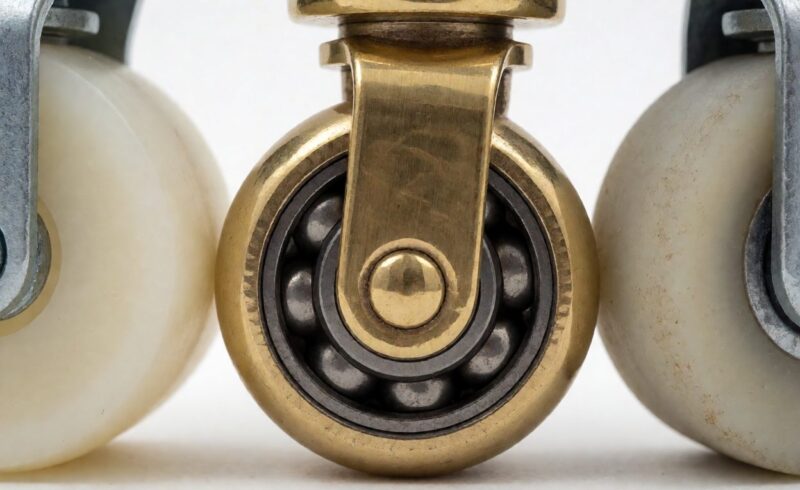
Ask which materials and finishes apply to each roller component, including the wheel, body, fasteners and surfaces that contact the glass or track. Confirm the finish code and how matching is maintained across the project. Inspect the wheel for visible damage, uneven edges or contamination and check whether the track contact appears consistent with the system design. Do not infer a corrosion rating or service life from appearance alone. Request the supplier’s available documentation and clarify how the finish is inspected. If the enclosure is used in a demanding environment, document the conditions for the supplier to review rather than assuming one material choice fits every application.
6. Test a representative assembly before approval
Build or request a sample assembly using the intended roller, rail, glass preparation, guide and stop. Check that the panel moves through its required travel without binding, visible wobble or contact with adjacent components. Confirm that adjustment is accessible and that the panel remains aligned through repeated operation. Record the setup and sample revision so another reviewer can repeat the check. If the project requires a formal cycle or load test, ask the responsible engineering team to define the method and acceptance result. A bench check can catch fit conflicts early, but it should not be described as a substitute for required qualification evidence.
7. Plan replacement parts and service access
For distributors and building projects, identify how the roller will be recognized after installation. Maintain the part number, system revision, compatible rail, glass preparation, finish and approved replacement process. Ask whether the wheel or assembly can be replaced without removing the full panel, and what tools or access are needed. Provide the installer with a record that links the product to the project drawing and care instructions. A replacement plan should include how a worn or damaged component is diagnosed, how the correct part is selected and how stock is managed. This lowers the risk of an incompatible substitution during field service.
8. Prepare a quote and approval package
Send the supplier a concise brief with panel count, glass thickness, rail profile, panel travel, guide arrangement, finish, environment, drawings and sample requirements. Ask the quotation to identify exactly what is included and which items remain open. Keep any alternate roller clearly tied to its own compatibility statement. Before order release, confirm the approved sample, drawing revision, finish reference, packaging and replacement part number. If a late change affects glass preparation or travel, route it through review before fabrication continues. The complete package gives procurement and engineering a common reference and makes future reorders easier to compare.
For buyers comparing available product and supplier options, see glass door hardware options.
Questions buyers often ask
Can shower door rollers be selected from a product photo?
A photo helps identify a concept but does not confirm glass preparation, rail geometry, travel or adjustment. Verify the actual system dimensions and interface.
What should be measured before replacing a roller?
Record glass thickness and attachment, rail profile, panel travel, bottom guide, end stops and the surrounding clearance.
Should the lower guide be specified with the roller?
Yes. Review the guide and stop as part of the sliding system so the panel stays aligned and follows the intended path.
How can a buyer approve a roller sample?
Test the actual roller with the intended rail and glass preparation, document the adjustment and travel, and keep the approved revision traceable.
