

Quick answer: Shower door hinge selection starts with the approved glass panel, door dimensions, mounting condition, opening direction and intended hardware finish. Buyers should confirm the hinge’s stated compatibility and installation details with the supplier, then review a representative sample on the actual or equivalent panel. Record the adjustment range, clearances and revision so the chosen hardware can be checked again during installation and replenishment.
1. Confirm the door and panel information first
Record the panel dimensions, thickness, edge condition and overall door arrangement from the project drawing. Identify whether the panel is fixed, hinged or part of a corner configuration, and show the opening direction from a consistent viewpoint. Note the mating wall, glass or adjacent panel condition. Do not infer hinge fit from a product photograph alone. The buyer should send the released panel drawing and ask the supplier to confirm the intended installation configuration in writing. If the panel or cut-out changes, revisit the hardware selection before ordering. A clear starting record helps the supplier identify whether the requested hinge is suited to the project geometry.
2. Map pivot position and movement
Show the pivot center, hinge locations and required opening path on the drawing. Review clearance to walls, adjacent panels, handles, seals and any nearby fixture. If the door needs to open in a particular direction or through a specified range, identify that requirement before quotation. Ask the supplier to explain the hinge movement and the permitted adjustment after installation. Check the complete swing path with a sample or a simple mock-up, especially where two doors or a fixed screen share limited space. The result should show that the panel can move as intended without contacting another surface or interfering with the seal.
3. Verify mounting and glass preparation
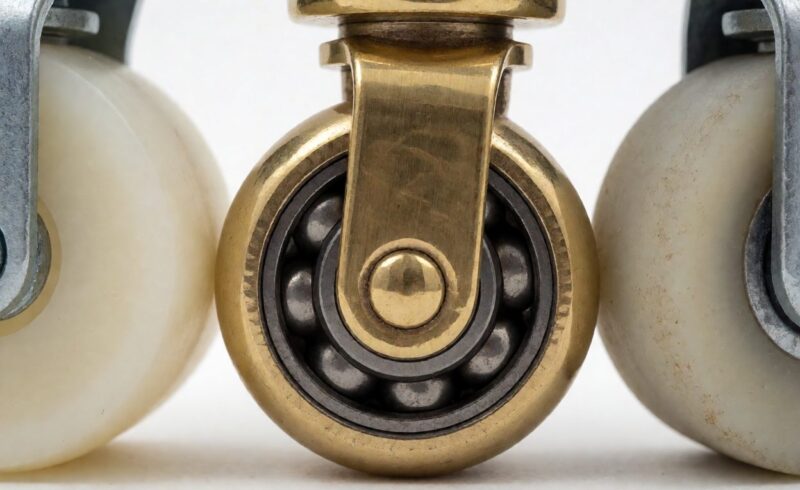
List the mounting method and the glass preparation information supplied by the project owner. Confirm the hole or notch requirements, hardware orientation, gasket arrangement and any installation tool needed. The glass fabricator should receive a controlled drawing and approved hardware reference before producing panels. Avoid asking the fabricator to interpret a generic catalogue image. When the supplier changes a hinge or clamp design, request a revised drawing and recheck the glass interface. A written match among the glass drawing, hardware sample and installation instruction reduces the chance that parts arrive individually correct but incompatible as a set.
4. Review adjustment and alignment needs
Ask what adjustment is available after the panel is mounted and how the installer confirms alignment. Record any limit on adjustment and the reference used to set the door position. Check whether the hardware can accommodate the project’s expected wall or panel variation, and identify what is outside the approved range. A sample installation helps reveal whether an installer can make the adjustment with ordinary access to the fasteners. Save before-and-after photographs and note the final settings. This gives service teams a reference when a door needs realignment and helps buyers evaluate whether the selected hardware is practical for the site conditions.
5. Match finish, cleaning and visible surfaces
State the finish name or reference, color expectations and the visible surfaces that matter to the project. Ask for a finish sample under representative lighting and review how it appears next to the glass, seals and other bathroom components. Confirm the supplier’s cleaning guidance and any restrictions on chemicals. Do not assume that visually similar finishes from different lots will match in a completed bathroom. Document the approved sample and reference number, then check a production sample before shipment if the project requires it. A clear finish record supports consistent replenishment across a bathroom set.
6. Check seals, fasteners and installation sequence
Review the gasket or spacer arrangement, fastener access and the order in which the installer attaches the hardware and panel. Identify any surfaces that must remain clean before assembly. Ask the supplier to explain the required fastener type and installation method, and have the responsible installer confirm that it suits the site. Avoid inventing a torque value or adjustment instruction if the supplier has not provided one. Keep the installation sheet with the sample. A step-by-step review can show whether a tool is blocked by the wall or whether a gasket is easily displaced during assembly.
7. Inspect a representative sample as a complete assembly
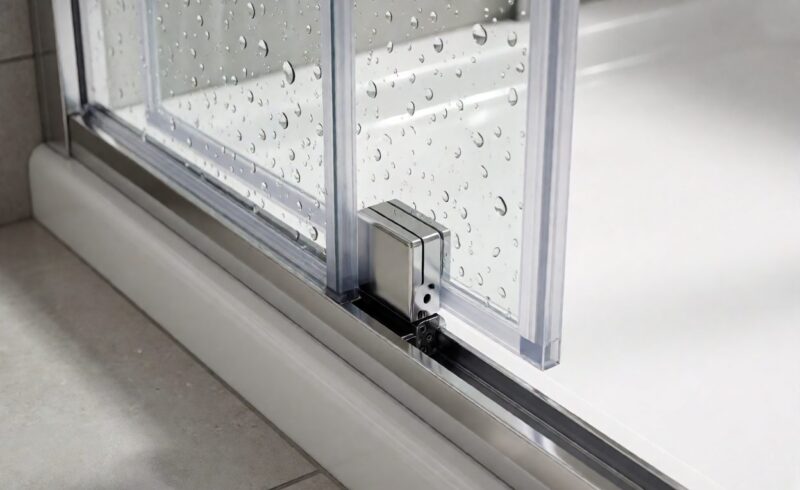
A hardware sample should be reviewed with the specified glass thickness, mounting surface, seals and nearby components. Check pivot movement, alignment, visible finish, clearance, fastener access and opening direction. Record the sample ID, hinge revision, panel reference and any adjustment made during the review. Ask the supplier to confirm whether a change to material, finish or internal component requires a new approval. A complete assembly provides more evidence than a loose hinge on a desk. It also gives the buyer and installer a practical reference before a larger order is released.
8. Preserve fitment details for installation and reorder
Keep the approved drawing, hinge model, panel preparation, opening direction, finish reference, sample photographs and installation instructions together. Put the part identifier on the purchase order and product schedule so the same version can be reordered. Assign an owner for any product substitution or engineering change. If a project has multiple door sizes, list the hinge configuration per opening rather than assuming one item covers every panel. This makes handover to the contractor and service team clearer and reduces time spent confirming which hinge belongs to which door.
For buyers comparing available product and supplier options, see Zimmor shower door hardware.
Questions buyers often ask
What information is needed to select a shower door hinge?
Provide the panel drawing, dimensions and thickness, mounting condition, pivot and opening direction, nearby clearances, finish and installation context.
Can a hinge be selected from a product photo?
A photo can help identify style, but fitment should be confirmed against the panel drawing, supplier details and a representative sample.
Why review a complete sample assembly?
It reveals movement, clearance, alignment, finish and fastener access with the actual glass and surrounding components.
What should be saved for a reorder?
Keep the approved hinge model, panel preparation, finish reference, drawing revision, sample record and installation instruction.