

Quick answer: A glass shelf clamp should be selected against the actual glass thickness and edge, clamp geometry, wall or panel interface, finish and installation conditions. Buyers should review a sample and the supplier’s product information with the glass and mounting surface specified for the project. Do not infer a load rating from a product photo; use the supplier’s validated documents and the qualified installer’s requirements for the intended installation.
1. Identify the shelf and installation location
Record the glass shelf dimensions, edge treatment, thickness and intended mounting location. State whether the clamp attaches to a wall, cabinet, panel or another support. A sketch should show the shelf orientation, number of clamps and the surface they contact. If the project has several shelf sizes, list each one separately. This information helps a supplier distinguish a clamp that merely looks similar from one that matches the actual glass and support interface in the installation.
2. Match clamp geometry to the glass edge
Ask for a drawing that shows the clamp opening, contact surfaces, dimensions and any insert or pad used with the glass. Confirm that the proposed configuration corresponds to the stated shelf thickness and edge condition. Do not force a sample onto glass to test compatibility; have the technical owner or installer review the fit method and product instructions. If more than one glass thickness is planned, identify the suitable model or adjustment only when the supplier documents it. Keep the drawing revision with the hardware schedule.
3. Confirm the mounting surface and fixing method
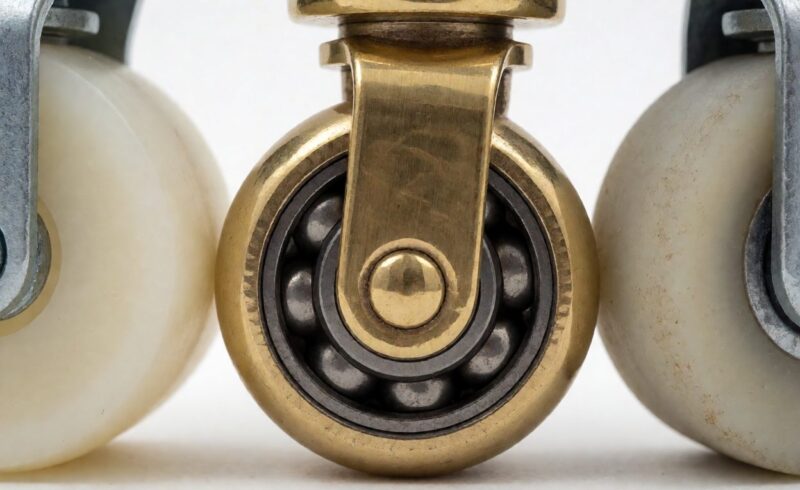
Describe the substrate and provide the project’s approved fixing requirements to the responsible installer. Identify the clamp’s mounting points and whether any screw or wall fixing is supplied or selected separately. A clamp cannot be reviewed independently of the support surface and project conditions. Ask the supplier to state installation assumptions and have the qualified installer confirm the fixing solution. This avoids treating a hardware catalog listing as an approval for every wall or cabinet construction.
4. Review visible finish and nearby hardware
State the finish reference and compare a sample with the project’s other visible hardware under consistent lighting. Check surface quality, color, sheen, edge appearance and how the clamp sits beside the shelf. If the project combines different metal parts, review them together rather than approving each item in isolation. Record the approved finish and supplier reference. This gives receiving and installation teams a physical or visual standard to use when checking a later lot.
5. Fit a sample using the approved review method
Use a representative shelf and installation fixture or a qualified installer’s controlled setup. Check how the glass enters the clamp, the contact position, alignment and access for the planned fastener. Record any gap, movement or interference observed without inventing a load result. Do not use an improvised test to infer safe capacity. If the project requires a performance test, obtain the supplier’s method and have the responsible engineer define the acceptance criteria. Keep the sample outcome tied to the product revision.
6. Clarify documentation and performance claims
Ask the supplier for product information, material descriptions and installation documents relevant to the chosen clamp. Confirm what the documents cover and which model or revision they reference. Any load or safety statement should come from validated supplier data and be reviewed for the actual glass, support and installation. Do not copy a rating from a similar-looking clamp. This approach keeps the project’s specification precise and ensures the installer has the information needed for the specific hardware being supplied.
7. Plan installation, inspection and replacement
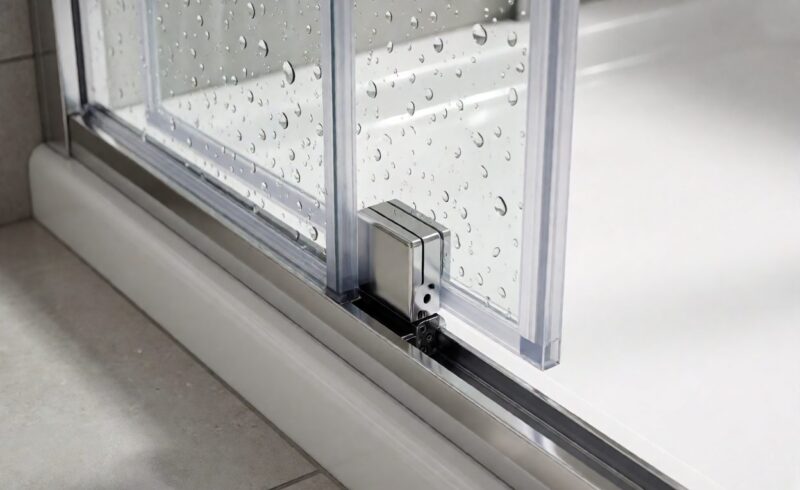
Define the parts that arrive in each set, how they are identified and what the installer checks before fitting. Record clamp model, finish, shelf location and installation date for facility service. Ask how the hardware can be inspected or replaced and whether spare inserts or fasteners are available for the selected model. Keep any maintenance instruction from the product owner with the project file. A traceable record helps service staff order the same part and identify the shelf interface correctly.
8. Control revisions and protect the glass package
Keep the approved drawing, sample result, glass reference, finish, installation note and order code together. Require notice for changes to clamp opening, insert, finish, fixing or source. Review packaging so clamps do not scratch the glass or lose small components in transit. If the shelf dimensions or substrate change, revisit the selection before replenishment. A dated release record connects the hardware order to the actual project and makes future replacement decisions easier.
For buyers comparing available product and supplier options, see Zimmor glass shelf clamps.
Questions buyers often ask
What should be known before selecting a glass shelf clamp?
Provide glass thickness and edge, shelf dimensions, mounting surface, finish and installation context.
Can a buyer determine the clamp’s load rating from its appearance?
No. Use validated supplier documentation for the exact model and have the responsible project owner review it.
Should a clamp be tested on the real glass?
Use the supplier’s approved fit method and a qualified installer; do not improvise a load test.
What should be retained for a replacement order?
Keep the clamp code, glass reference, finish, installation record and approved product drawing.