

A frameless shower-hardware set should be defined by the enclosure design and the parts approved to work together. A list of hinges, clamps, seals or supports does not establish that the components fit the same glass, opening, mounting surface or finish specification. Build the set around model-specific drawings and installation information.
Key Takeaways
- Start with the enclosure layout, glass fabrication and project requirements.
- List only the hardware components required by the approved design.
- Verify fit, ratings, fasteners and installation conditions for each exact model.
- Coordinate visible finishes using approved samples and named product codes.
- Keep drawings, revisions, care instructions and change approvals with the set.
Define the Enclosure Before the Parts List
Record the door and fixed-panel arrangement, glass type, measured thickness, dimensions, edge preparation, cut-outs, opening direction and mounting surfaces. Identify the project’s functional and appearance requirements, including any applicable specification or jurisdictional requirements. This information provides a basis for deciding which hardware is needed.
Do not begin with a generic glass-thickness chart or a “standard set.” The glass and enclosure determine the required hardware configuration, and each product has its own published fit range. Compare those ranges with the actual drawing and the glass supplier’s fabrication information.
Build a Model-Specific Component Schedule
Depending on the approved enclosure design, the schedule may include hinges, handles or knobs, glass clamps, wall brackets, support bars, seals, channels and specified fasteners. Record the manufacturer, model or part number, finish, revision, quantity and the purpose of each part. Do not add a support or substitute a component unless it is permitted by the design and the relevant manufacturers.
Map connections between parts. Check the hinge-to-glass interface, clamp or bracket mounting, compatible gasket, wall substrate, anchor and adjacent clearances. Confirm that any support bar’s endpoints and adjustment range are shown on the current drawing. Similar appearance or a shared finish label does not establish interchangeability.
For technical details to coordinate across a full project schedule, see our complete shower hardware specification guide and the shower hinge selection guide.
Verify Glass Fit and Assembly Ratings
Compare the model drawing with the glass type, thickness, holes, notches, edge finish, dimensions and gasket arrangement. Confirm that the stated rating covers the exact product and documented configuration, including the panel and mounting conditions. Do not transfer a rating from another hinge, glass thickness or bracket arrangement, or infer the number of hinges from a generic set.
Where a load or performance statement is not clear, request the manufacturer’s written confirmation for the proposed assembly. If a component, fastener, substrate or glass detail falls outside the published data, resolve the discrepancy before ordering or installation. A set schedule should identify the approved model for each interface rather than imply that every part works with every enclosure.
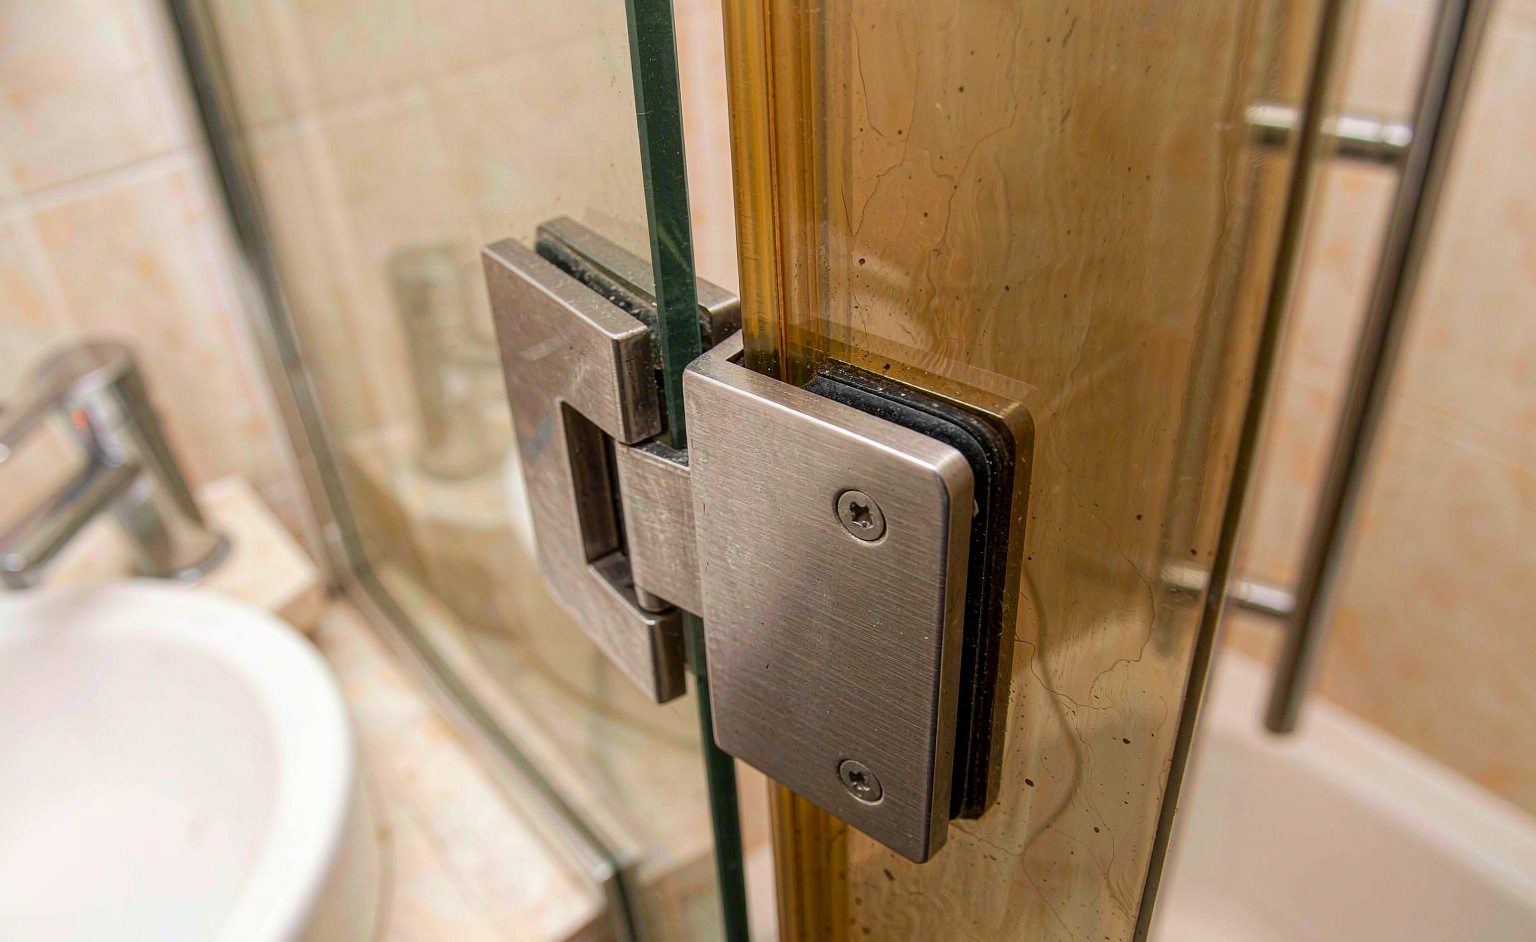
Coordinate Finish, Installation and Care
Identify each visible finish by product code and finish name. Review representative samples together under the project lighting, and record who approved them. If different components come from different suppliers, confirm the match on the actual samples instead of relying on finish names alone.
Collect installation instructions, care guidance and inspection requirements for every component. Confirm the approved order of installation and any tools, fasteners or adjustments specified by the product maker. Keep the instructions available to the installer and service team, and record how substitutions or product revisions will be approved.
Buyer Checklist for a Hardware Set
| Item | Record |
|---|---|
| Project layout | Door and panel arrangement, opening and mounting surfaces |
| Glass | Type, thickness, dimensions, cut-outs and edge details |
| Component schedule | Model, finish, revision, quantity and interface for each part |
| Fit and rating | Published drawing and rating for the proposed assembly |
| Finish approval | Sample, lighting conditions, approver and date |
| Installation | Instructions, fasteners, anchor conditions and care details |
| Change control | Written approval process for a substitute or revision |
Before releasing a purchase order, confirm that the set schedule, drawings and samples refer to the same models and revisions. If the project changes, update the schedule and obtain approval for affected interfaces before shipping or installation.
Frequently Asked Questions
What belongs in a frameless shower-hardware set?
Include the components required by the approved enclosure design, such as hinges, handles, clamps, seals, supports and specified fasteners. The drawing determines the correct list.
Are common glass thicknesses a universal fit for every set?
No. Check the exact fit range and drawings for each component against the glass being supplied. Do not use a generic range for a different model.
Can I mix hardware from different manufacturers?
Only when each interface, fit, finish and installation condition has been confirmed for the proposed assembly. Similar appearance does not establish compatibility.
How do I keep finishes consistent across a set?
Identify finishes by model and code, compare production-representative samples under the project lighting, and record approval before ordering.
Conclusion
Specify a frameless shower-hardware set as a coordinated schedule of approved models, drawings, samples and installation records. The exact enclosure and product documentation—not a generic kit label—should establish fit and compatibility.