

Quick answer: Choose a shower door seal by matching the panel configuration, glass thickness, measured gap, opening direction and water path to a specific profile. Then confirm the material, length, corner details, cleaning needs and sample fit. A generic profile name is not enough to establish that a seal will fit the buyer’s glass and installation.
1. Identify the door and the point that needs sealing
Describe whether the seal belongs on a moving door, a fixed panel, a bottom edge or a meeting point between panels. Include a photo or drawing that shows where water escapes and when it happens. A seal that works at the bottom may be unsuitable at a vertical edge, and a profile for a fixed panel may not allow the required movement. Record the door opening direction and identify whether the seal contacts tile, a curb, another glass panel or a frame. This context gives the supplier a useful starting point and helps avoid ordering by appearance alone.
2. Measure the actual gap and glass configuration
Measure the gap where the seal will sit and note whether it changes along the door. Provide the glass thickness and edge detail from the project specification, plus the profile or channel dimensions if one is present. Identify any variation caused by alignment, wall condition or installation. Ask the installer to confirm when the opening is in its final position and how the measurement was taken. Avoid assuming that a nominal gap will remain constant across the full panel. A sketch with arrows and measurement points can make the request clearer than sending a single number without context.
3. Match the profile to movement and overlap
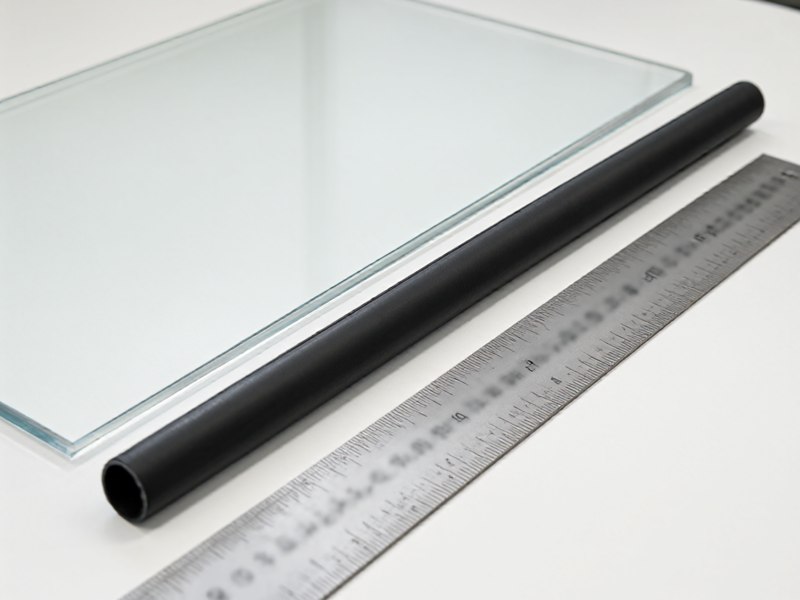
Show how the seal needs to flex, overlap or contact another surface as the door opens and closes. Check that it does not obstruct rollers, handles, guides or the intended swing path. If the door has a return panel or multiple leaves, identify each meeting edge separately. Ask the supplier for the profile drawing and confirm which side attaches to the glass and which direction the flexible lip should face. The same family of seals may contain profiles that look similar but serve different positions. Review the drawing with the installer so the correct version is selected for the actual assembly.
4. Consider water direction and installation geometry
Explain where water originates and which direction it should be guided. Include the shower head location, door overlap and any curb or threshold that affects drainage. A seal can only be evaluated in relation to the surrounding installation; it cannot correct every issue in a door alignment or drainage design. Ask whether a proposed profile is intended for the stated position and confirm the installation orientation. If the problem appears only during certain use, describe that condition. Use a representative sample or mock-up to examine contact and clearance before ordering a complete replacement set.
5. Confirm material, finish and cleaning expectations
Ask the supplier to identify the profile material and available color or finish options for the selected design. Review the care instructions and cleaning products expected in the installation environment with the manufacturer. Do not assume that two visually similar materials respond the same way to cleaning or aging. If appearance matters, compare a physical sample against the hardware finish and glass. Keep the chosen color and profile code on the parts list so the replacement is identifiable later. If a product claim depends on a material property, request the supplier’s documentation and avoid repeating an unverified claim in a project specification.
6. Specify length, cuts and corner details
State the required length and who will cut or finish the seal. Identify mitres, end treatments, corner joints or notches that affect fit. If the buyer is ordering a replacement, send the removed seal or a clear cross-section image when possible, but verify the glass and gap rather than copying the old part blindly. Record how offcuts are measured and whether extra material is needed for installation. For a multi-panel system, list each edge separately and label its position on the drawing. A simple seal schedule prevents a correct profile from being supplied in the wrong length or with an unsuitable end treatment.
7. Test the sample in the assembled door
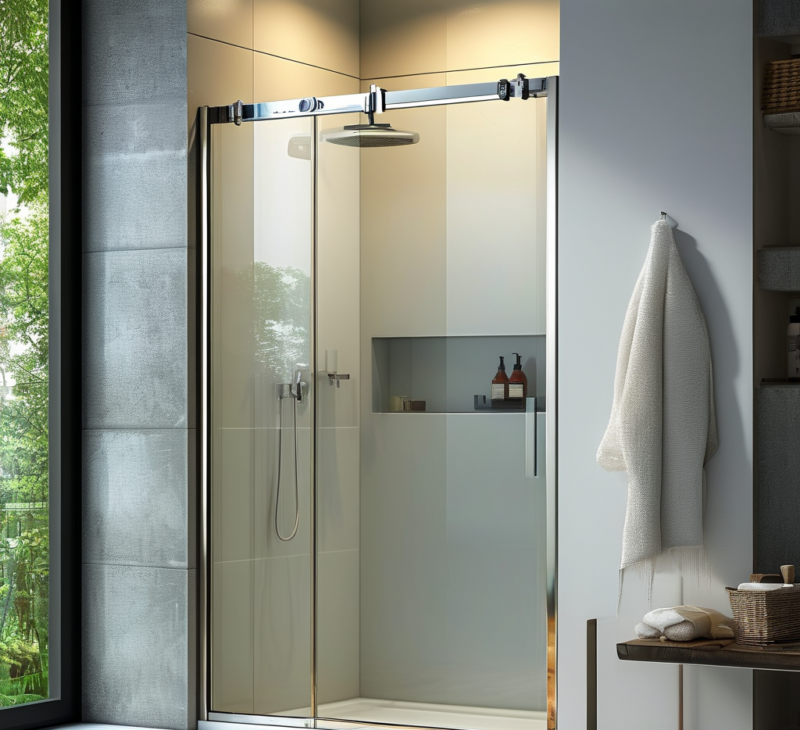
Fit a sample section to the specified glass or a representative panel and review the door through its full movement. Check attachment, clearance, alignment and contact at the locations that matter. If water performance is part of acceptance, define the test conditions and observation method with the project owner; do not promise a universal leak-free result based on a visual fit alone. Record the product code, glass details and installation configuration used. If the seal needs adjustment or a different profile, capture the reason and update the project drawing before ordering the remaining quantity.
8. Plan replacement identification and maintenance
Store the profile code, glass thickness, door position, length and supplier reference with the installation record. This lets a maintenance team request the same or an approved replacement without relying on a distant photograph. Note any periodic inspection or care guidance supplied by the manufacturer and assign a person to review wear or damage. If a replacement profile changes the contact or overlap, confirm the fit again instead of assuming it is interchangeable. Accurate records can also help a contractor identify whether a problem comes from a seal, panel alignment, hardware adjustment or another installation detail.
9. Send a complete seal request for quotation
A useful request includes door photos, panel layout, glass specification, gap measurements, opening direction, water path, profile drawing, color preference, length and sample criteria. State what is confirmed and what the installer still needs to check. For available options, review Zimmor shower door seals and ask the supplier to identify the profile and installation position that match the project evidence.
Questions buyers often ask
Can I choose a seal from a photograph?
A photograph can help identify a profile, but verify the glass, gap, door position and installation geometry before ordering. A sample fit is useful when the profile is uncertain.
Why does the opening direction matter?
It affects which side the flexible portion faces, how it contacts another surface and whether the profile interferes with door movement.
Can a new seal fix all water leakage?
Not necessarily. Leakage may also involve alignment, drainage or installation. Identify where water escapes and assess the seal within the full door assembly.
What should I keep for future replacement?
Save the seal code, glass thickness, door position, length, profile drawing, installation photo and any care guidance from the supplier.