
A shower glass header kit may connect a fixed panel to a wall or another support point, but the exact role depends on the selected system. Confirm the kit drawing and intended connections before treating it as a universal enclosure component.

Decide what the header kit must do
State whether the kit is intended to support a fixed panel, connect enclosure elements or carry another defined function in the project. Identify the panel and connection points on the elevation. Do not substitute a header profile for a support component unless the model documentation specifies that use.
Measure span and connection points
Record the clear span, wall condition, panel edge and any end connections from the current project drawing. Confirm whether the proposed profile is supplied to length, adjustable or intended for field cutting. Ask the supplier to identify limits and connection hardware for the exact model rather than assuming a universal range.
Select the seal by profile and gap
If a seal is part of the kit, compare its cross-section and contact surfaces with the measured gap and panel position. Color alone is not a fitment specification. Keep the profile drawing and replacement part identifier so later service can match the installed seal.
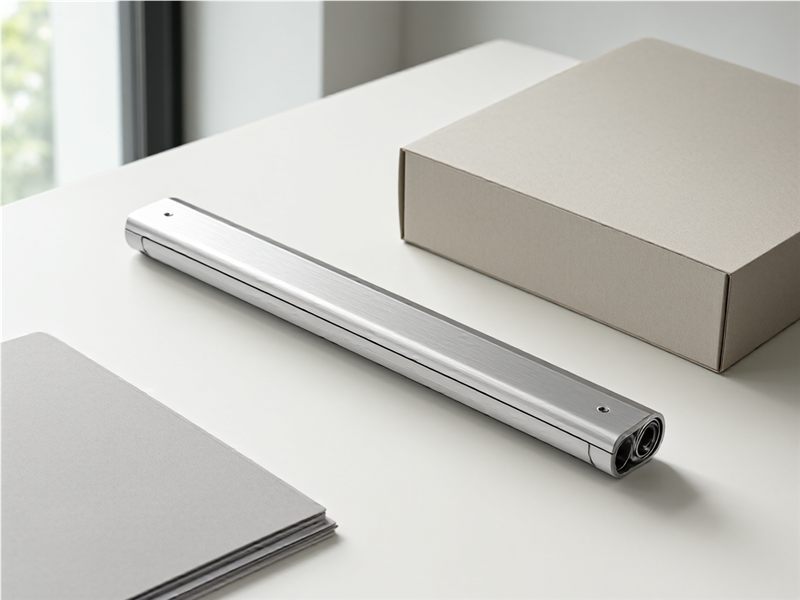
Plan trimming and installation
Follow the model instructions for orientation, cutting, drilling and fastening. Check access to the wall connection and whether installation requires the glass to be supported in a particular sequence. Resolve whether trim ends, covers and seal lengths are included in the quoted package.
Confirm the kit with a representative sample
Review a sample against the glass edge and wall connection shown in the drawing. Check the visible profile, end treatment and seal engagement, then record the approved model and revision. Any change to span or panel position should trigger a fresh interface check.
Shower header kit questions
Can one header kit fit every enclosure width?
Only where the selected model documentation confirms the required span and connection arrangement. Verify the actual project dimensions.
How should a replacement seal be chosen?
Match its profile and dimensions to the installed seal or model documentation, not only to a product name or color.
Browse header and seal product category, header and seal information page, Zimmor product and fitting information. For a project-specific quotation, provide the current drawing and request model-level fitment details before approval.
