

A stabilizer bar is one possible part of a frameless shower enclosure, but the layout and product drawing determine whether a specific bar is suitable. Do not treat it as a universal requirement or use it to hide a hinge, glass or wall-fixing problem. Before installation, match the bar, its brackets and its fixings to the approved enclosure design.
Key Takeaways
- Confirm that the selected enclosure design calls for the bar and the exact mounting arrangement.
- Identify the wall construction behind the tile and use an anchor approved for that substrate and bracket.
- Measure the actual mounting points and adjustment range from the current drawing.
- Do not drill or alter tempered glass after heat treatment.
- Follow the model instructions for drilling, tightening, alignment and final checks.
Confirm the Bar Is Approved for the Enclosure
Start with the shower-door drawing and the instructions for the proposed stabilizer-bar model. Check whether the bar connects a door to a wall, a door to a fixed panel, or another point in the enclosure. The endpoints, bracket type, adjustment range and opening path must match the approved configuration. A bar designed for one layout should not be assumed to suit another.
If a door or fixed panel moves, determine why before adding a brace. Check the hinge, clamp, glass fit, panel alignment and wall connection against their documentation. A stabilizer bar is not a substitute for a compatible hinge, a sound substrate or a correctly installed glass panel.
Identify the Wall Substrate and Approved Fixing
Determine what is behind the finished tile at the specified fixing point: framing, blocking, masonry or another assembly. Select the anchor and fastener from the bar manufacturer’s instructions and the anchor manufacturer’s data for that substrate. Do not count on the tile or grout alone to carry a fixing unless the exact system is designed and approved for it.
Check the installation area for concealed services and confirm that the bracket position gives the specified edge distance and embedment for the selected anchor. Use the current instructions for drilling through tile and into the substrate. The required bit, drilling mode, speed, depth and anchor-setting method depend on the materials and fixing system; do not substitute a generic instruction for the product documentation.
Where a bracket attaches to glass, follow the enclosure and hardware drawings. Fully tempered glass should not be cut or drilled after tempering; the National Glass Association’s engineering manual describes this limitation for fully tempered glass. If a drawing requires a glass hole or cut-out, it must be prepared as part of the approved glass fabrication process.
Set Out the Actual Bar Geometry
Lay out the bracket locations using the approved drawing and the actual door, fixed panel and wall. Check the bar’s length, adjustment range, bracket orientation and clearance throughout the door’s movement. Avoid forcing a bar into position or using its adjustment to pull a panel out of alignment. If the actual opening differs from the drawing, stop and obtain a revised confirmation before drilling.
Protect the glass and finished surfaces during work. Use the fixing template supplied for the model, if one is provided, and verify each marked point against the actual bracket before drilling. Do not rely on an unrelated template or a measurement copied from another enclosure.
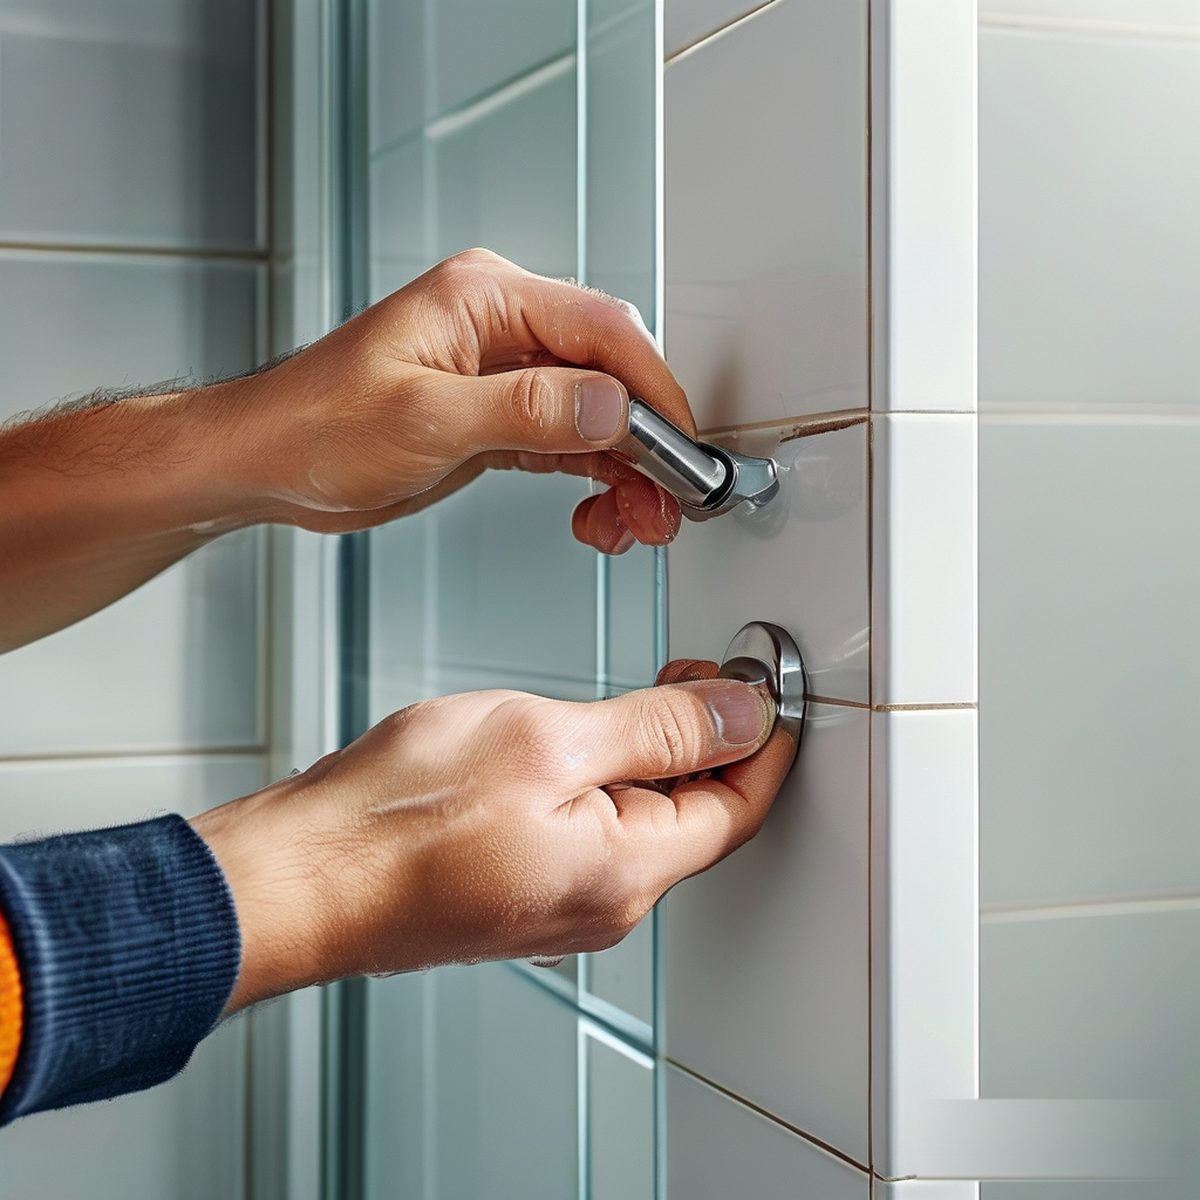
Install and Inspect to the Product Instructions
Use a qualified installer for the enclosure and follow the manufacturer’s sequence for the bracket, anchor, fastener and bar. Tighten fasteners only to the stated method or torque, if the documentation supplies one. Do not overtighten a glass clamp or wall fixing to compensate for a poor fit.
After installation, check that the brackets are seated, the panel remains aligned, the bar is not under unintended preload, and the door moves as designed. Recheck the fixings and maintenance points at the interval stated by the supplier or project documents. If the panel shifts, the bar loosens or the glass shows damage, stop using the enclosure and have the assembly inspected.
Pre-Installation Checklist
| Check | Confirm before work |
|---|---|
| Design | Approved drawing shows the bar, endpoints and bracket type |
| Fit | Bar length and adjustment range suit the actual enclosure geometry |
| Wall | Substrate and anchor match the specified fixing |
| Glass | Any hole or cut-out is part of the approved glass fabrication |
| Installation | Current instructions cover drilling, tightening and inspection |
| Change control | Differences from the drawing have written approval |
For a broader list of drawings, dimensions and hardware information to request from a supplier, see our shower hardware specification guide.
Frequently Asked Questions
Does every frameless shower door need a stabilizer bar?
No. The approved enclosure design and hardware instructions determine whether a bar is used and where it connects.
Can tile alone support a stabilizer-bar anchor?
Use the anchor and substrate specified for the bracket. Do not assume tile or grout alone is an approved structural fixing.
Can a stabilizer bar fix a loose shower hinge?
Do not use it to mask a loose or incompatible hinge. Inspect the full enclosure and correct the cause under the relevant product instructions.
Can I drill a hole in tempered glass for the bracket?
No. Fully tempered glass should not be drilled after tempering. Any required hole or cut-out must be included in approved glass fabrication before heat treatment.
Conclusion
Install a stabilizer bar only when it is part of the approved enclosure design. Confirm the exact model, wall substrate, anchor, glass details and mounting geometry, then follow the product instructions and inspect the completed assembly.